How to Fix MacOS Could not be Installed?
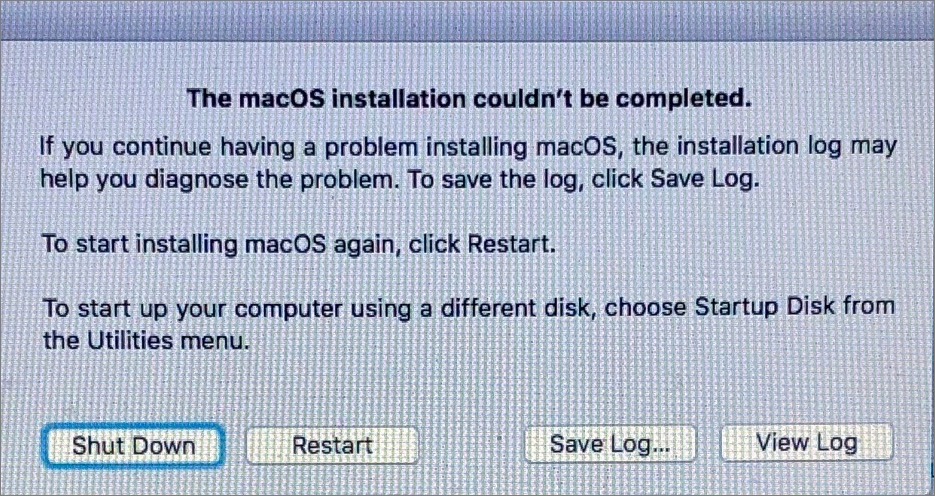
Updating Macbook into latest version is very easy and simple. One can easily perform this process. But behind this, lots of users face technical issues while try to update their Macbook to latest version of MacOS. The update appears a message MacOS could not be installed on your computer and then you need to quit installer and restart your computer.
If you are facing this problem, then you can easily fix that after applying the below steps:-
- First of all, make sure that your computer has enough space available to complete update.
- Reboot your computer with option key and then quit the MacOS install drive. After that, restart it with normal Mac drive.
- Ensure that, you have a full backup because if anything goes wrong, then reinstall it in a safe way.
- Now open your Macbook in Safe mode and then click on Disc Utility.
- Login by using your credentials and then go to MacOS Utility folder.
- Open the Disc utility program and then click on first option available at top side.
- Now repair has been completed and then you can easily update your MacOS program.
Are you still facing any problem while updating MacOS through above instructions? Then don’t think too much about that. Contact Mac support number and obtain highly reliable assistance from the professionals who are well qualified and certified. They will fix your MacOS installation problems in a very simple manner. You only need to communicate with them and they will take a short span of time to fix various MacOS related problems. You contact on this number across the world that is available at 24/7 hours.
LEAVE COMMENTS